Original Halloween Costumes: DIY Family S’mores
We hope you like the products we recommend. Just so you are aware, Keep Toddlers Busy may collect a share of sales from the links on this page. Read more about our links in our disclosure policy.
–
–
Sooo…. I love Fall. I just do. Pumpkin spice, cooler weather, sweaters, fall fun, and upcoming holidays. I love it all! It’s never to early to start getting ideas for this year’s family costumes!
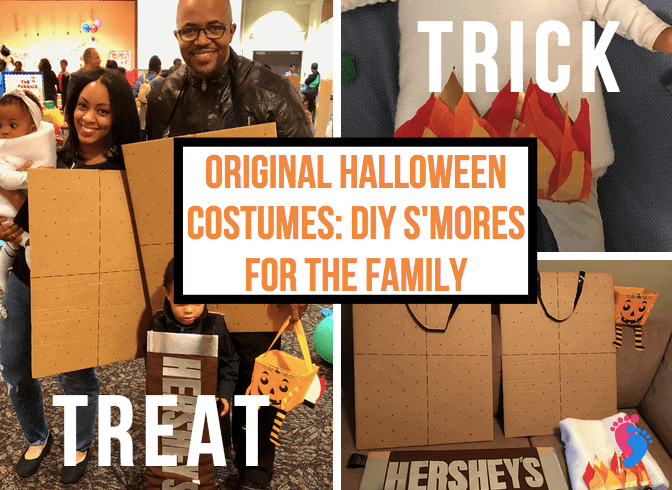
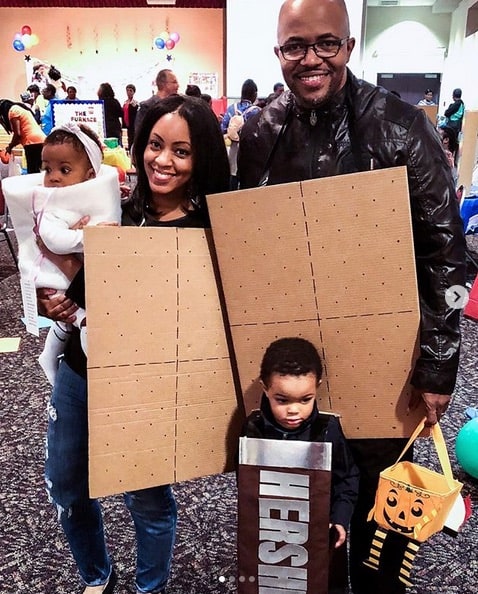
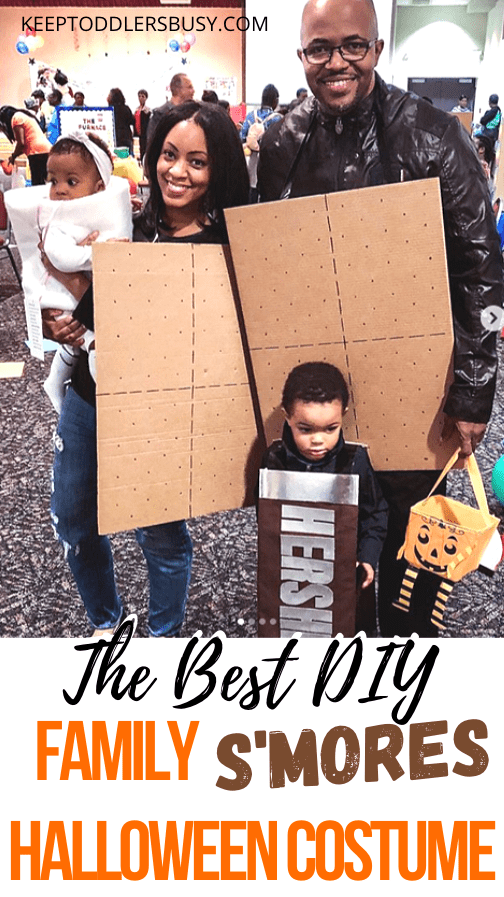
If you are looking for original Halloween costumes that also checks the box for a awesomely inexpensive DIY project, take a look at how I made this family S’mores Costume on a budget! It was a huge hit with everyone! And it also inspired me to do a yummy post on Halloween desserts hehe.
–
–
If you have a family of 5 or more, add some marshmallows! Family of three? One cracker, one marshmallow, one chocolate bar! Visit and check out my Pinterest account for more ideas on my Holidays board.
Also, I know school is almost here or already in session! I recently published a complete list of virtual learning and home school supplies for kids to get your school year started on the right foot. Head on over there when you are done looking through this post!
–
DIY S’mores Family Halloween Costumes
–
S’more Costume Supplies
–
Believe it or not, almost all of these supplies came from the Dollar Tree! The rest, I bought from Walmart for a low price! (insert mommy win here) Take a look at how I spent $20 on a family s’mores costume!
Dollar Tree: ($8.00)
1. Two Cardboard Project Boards (It should be white on one side and cardboard colored on the other side with the ends folded in)
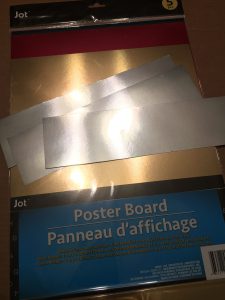
2. Two Packs of Metallic “poster board” (Seemed closer to Metallic paper)
3. A tiny sewing kit with needles and thread (If you don’t already have this at home)
5. Black and Silver Duct Tape
Walmart: ($12.00)
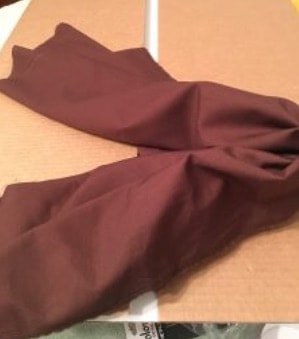
6. 1 yard of cheap brown fabric. (They were out of brown felt squares) ($5.00)
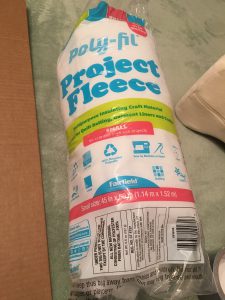
Project Fleece ($5.00)
Tissue Paper for the Fire ($2.00)
If making the candy bar doesn’t sound appealing, I love the idea of wearing a Hershey t-shirt!
–
–
–
Costume Preparation -Hershey Bar (Approx. 10 min)
–
–
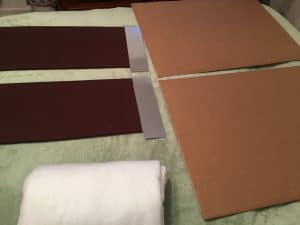
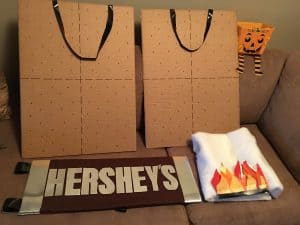
- To get the material for your Hershey Bar, start by cutting the folded in section off one of the cardboard project boards. These are already the perfect size for the candy bar if you are using the normal school sized version, so no further cutting is necessary. (Unless the board is too long for your toddler). I have a tall two year old so the length was just right for me, but make sure you check, if you are making this part of the costume for a smaller child. You can cut off the folded ends of the other board as well or you can be lazy like me and tape the ends down and give the heavier board to your husband! LOL. This will be used for the other graham cracker.
2. Using a sheet of the silver metallic poster board, cut out 4 rectangles to eventually resemble a Hershey bar’s foil on the ends of the bar. The rectangles should be about 3ish inches in height, cutting across the shorter length of the poster board.
3. Cut the yard of brown fabric in half, so that each half can be wrapped around the cardboard.
–
–
Start the DIY Process!- (Approx 3 hours)
–
–
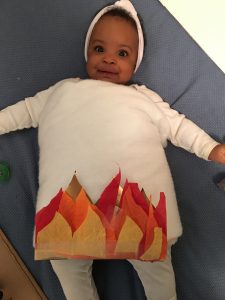
1. MARSHMALLOW: The project fleece comes folded, but you can fold the fleece to your liking if it is too thick or too short. Next wrap the fleece once around your child to measure the correct length and cut the fabric where appropriate. At this time you can also mark where the arm holes should be. Later you can cut these holes out. This does not have to be perfect! Next, use a simple needle and white thread to sew the ends of the fleece together, making sure to leave enough space to slide the fleece on your child.
–
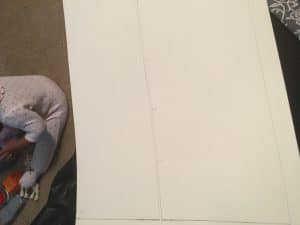
2. CANDY BAR, Prepare the LETTERS: This step took me over an HOUR because I took my time to get it right. I downloaded a picture of a Hershey bar on my phone, so that I could duplicate the font as closely as possible. You may want to use a ruler or tape measure to make sure that your letters are even! I used a ruler app on my IPhone.
Using the silver metallic project paper from the second packet of paper, draw the letters out on the white back side to get spacing right, and then carefully cut out the letters. It will be backwards so keep that in mind, or just draw on the silver side.
One sheet is enough to make the word “Hershey’s”. The letters were about 6 inches wide, except for the E’s, which were closer to 5 inches wide.
–
–
–
3. FIRE: This step is optional in my opinion. I decided to do it because I had leftover red, orange, and yellow tissues paper from birthdays/holidays. I also used some of the gold metallic project paper found in the packet and it only took me about five minutes. Line all the colors up and cut out flames, some small, some big. Then spread them out a little and tape the tissue paper on top of the gold metallic paper! Easy!
–
4.GRAHAM CRACKERS: Measure the boards to find the center point on each side. Next, draw LARGE dashes throughout the centers of the board to resemble the demarcation lines of a graham cracker. Larges dashes just look better to me. Next ,draw or poke dots on the board to resemble a graham cracker. I did a pattern for each square on the board so that the dots would look uniform, but that is optional. I did three dots, then two, then 3, and so on.
–
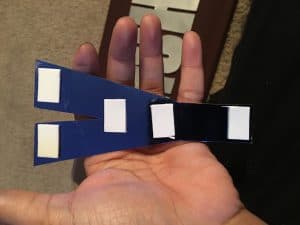
5. Prepare COSTUME STRAPS: Using the black duct tape, pull out the desired length of your straps. Next pull out an identical length of tape and carefully press the sticky sides together. Violà!!! You should have one strap each for the graham crackers and two for the Hershey’s bar.
–
Bring It All Together! (Approx 30 min)
–
Now it’s time for the fun part, put it all together.
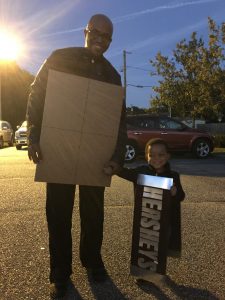
1. CANDY BAR: Wrap the cut fabric around both boards tightly and use the silver duct tape to secure the ends of the of the fabric to the board. Make sure the duct tape can be covered by the silver metallic paper on the front side. If desired, you can sew the fabric down for a more secure hold. I did not do this but I did notice a little slippage after the night was over. Next, attach the silver metallic cutouts to the front of the bar. fold the ends over to the back and use the silver duct tape to secure it down.
–
–
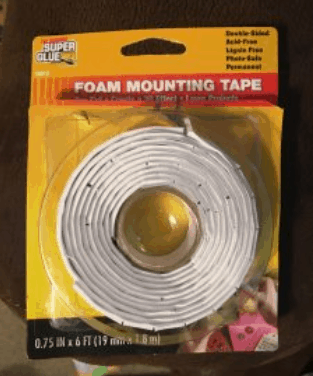
2. LETTERS: Attached the mounting squares to the back of the letters. The more you attach, the better it sticks. You can also use the mounting tape squares to help secure the fabric on the Hershey bar and anything else that need its. Next, carefully attach the letters to the fabric and press down.
–
3. Attach the STRAPS: Use the silver duct tape to attach the straps to each board like shown in the pictures.
–
Tip 1 : Make sure the costume straps are long enough to go over everyone’s head!
Tip 2: Again If making the candy bar doesn’t sound appealing, I love the idea of wearing a Hershey t-shirt!
–
–
Finished Original Halloween Costume!
–
That’s it folks! Tell me about your family costumes below in the comment section!
–

–
–
For more AMAZING costume ideas, check out my post on other DIY Halloween Costumes as well and also this awesome post on family diy costumes!
I hope you enjoyed this cute s’mores costume post and your kids enjoy it as well. It really was awesome! Please comment below and let me know some costumes that you have done in the past or plan to do this year! I would love some ideas!
–
–

What a cute family, and what a really great idea! I can see my son and I doing this for next year! Looks easy and well, easy on the wallet which I really like 🙂 I am not the creative type, so I do rely on others to share their creative ideas.. Thank you so much for sharing, I love it!
My pleasure! I will be checking in next year with reminders 🙂
This is the cutest idea! I’ve never seen that before or even thought of it… This would be fun to do with my 8 and 13-year-old 🙂 Even though they are older, I think they would get a kick out of it!
Thanks for sharing your great ideas, a true inspiration!
Thank you! I agree with you I think it would be AWESOME for older kids as well.
Those costumes are so adorable and I love how everyone in the family gets involved. I think that it is better when you make your own costumes than buy them from the store- it gets everyone involved and teaches them about values.
I will definitely try out the smore costume when planning for Halloween next year!
It was definitely a load of fun and a hit with everyone! You can’t beat a cheap price for something the whole fam can use. I’ll check back in next year 🙂
Those costumes are the best. I love how each member of the family plays a part in the s’mores. It seems very affordable and doesn’t take that long to do. A couple hours is worth it to save some money and create something that awesome!
The marshmallow baby was the best part…lol..I love it. Great idea and great description of the creation process. My neices just might be a marshmallow and Hershey bar next year.
Awesome stuff!
Thanks,
James
Thank you James! I hope they are next year. It’s funny my husband and I said the same thing. The marshmallow was awesome lol.
oh, ou have a very good idea here on a very good do it yourself halloween costume. i have been thinking on what to wear for my baby this fall and she really loves this season so there’s no way shes going to be happy if i don’t dress her pretty good. Thank you for this good idea. Ill make use of it. Thanks again you have a beautiful family too.
Aww thank you soo much! I hope you enjoy it!
The kids really do love Halloween and the dressing up, problem is that I’m not very imaginative and so end up having to go to the shop and paying for stuff that always ends up being used just for one day, so I’m so pleased to have stumbled across your post here today especially with Halloween being just around the corner, so I found your website just in time, thank you for sharing.
I’m glad you enjoyed it!
Oh, this is pretty nice. My sister loves the halloween season a ot and i do not need to explain how expensive it is to get a good halloween premade costume so i was looking for a good idea and thank goodness you came my way. I am going to use this do it yourself method at home and see how it all comes together for me. Thanks for sharing.
good luck on the costume!
I love your family costumes! That is so fun and creative. I will love to get this done for my queen, ever since my daughter was three she’s have some very specific ideas of what she wanted to be. I should’ve perhaps got her doing that when she was a baby and then probably she’d be willing to be a team player. I love the guide.
Thanks!
You’re very welcome! Yes start them young lol.
Wow! Amazing! Thank you for sharing the step-by-step instructions. I tried finding as much as I could at DT and Walmart. Your ideas were creative! I just finished making them last night and my 3 girls looove them.
Yaaaaay!! I am so glad you were able to make them and that your girls loved it! That’s why I do what I do, so it can be enjoyed by many. Thank you for leaving this comment and I hope they continue to enjoy it!
Thank you so much for your great ideas and instructions! We were pretty clueless about how to make s’mores costumes and running low on time, so your site was the perfect find. We found everything at Walmart, and the costumes turned out great – we got tons of compliments from neighbors and friends. Thank you!!
Awesome! I am so glad that it worked out for you! It’s always nice to get compliments after a little hard work haha. You are so very welcome!