Space Crafts for Kids: Cardboard Space Shuttle
I’m pretty excited to talk about one of our latest space crafts for kids today. My 5 year is obsessed with everything related to solar system, not exaggerating, so this one was a little more special and it was thoroughly enjoyed by him and my toddler 🙂 In fact, it seems that outer space is kind of the in thing right now. (trending)
My son is starting Kindergarten next year, so I have just made up my mind to have an enjoyable summer and do the things my kids love while we wait to see what happens.
I love talking about crafts and sharing ideas so be sure to check out my other activity posts on preschool math games and a great post on pom pom crafts. Take the activities outside with backyard ideas for kids!
Keep Toddlers Busy is a participant in the Amazon Services LLC Associates Program, an affiliate advertising program. As an Amazon Associate, I earn from qualifying purchases. Read more about these links in my disclosure policy.
Simple Space Crafts for Kids
Materials for the Rocket Craft
Here are the supplies required for the project! Pretty minimal. If you do a lot of crafts at home with the kids, you will most likely have these products at home.
1.Crayola Washable Paint– When you are dealing with toddlers and young children, washable paint specifically designed to be cleaned up easy is a must. I love this brand because it washed off easier than some of the other brands I have tried.
2. Cardboard tubes left over from toilet paper- You can also cut the cardboard leftover from paper towels into two equal pieces. You can also buy white craft rolls if you frequently enjoy these types of activities.
3. Cardboard left over from a box to make the wings
4. Glue, tape, scissors, a pencil, and paint brushes.
How To Make This Rocket Project
So here is the how-to! It’s pretty simple to do but you have to allow time for drying, which can be hard for toddlers. So plan to take snack breaks!
1.Start by gathering all the supplies before you get started. My kids were super antsy and wanted to go to each step immediately. Even though I had not prepared, having things cut and ready to go would have been a big help.
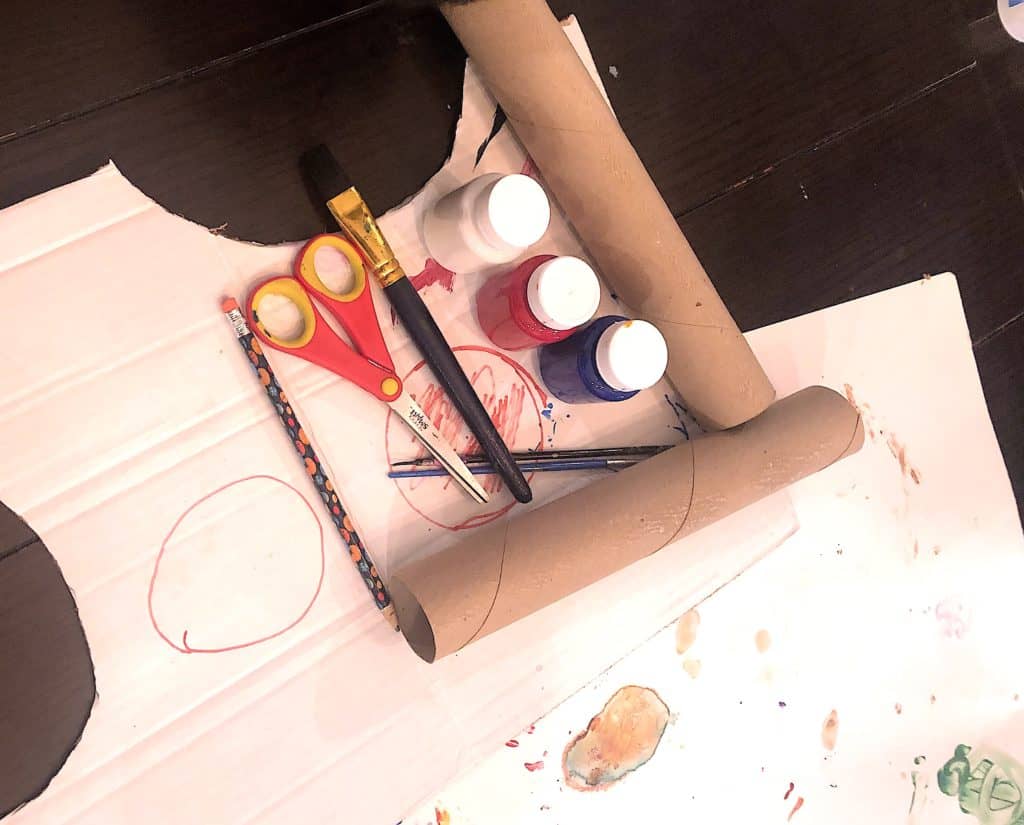
2. Our first step involved painting the tube white. Even though I forgot to do so, make sure you cut a hole in the top before you let the kids paint! I waited until the paint dried and and it was a little harder to cut than I wanted. without messing up the paint)
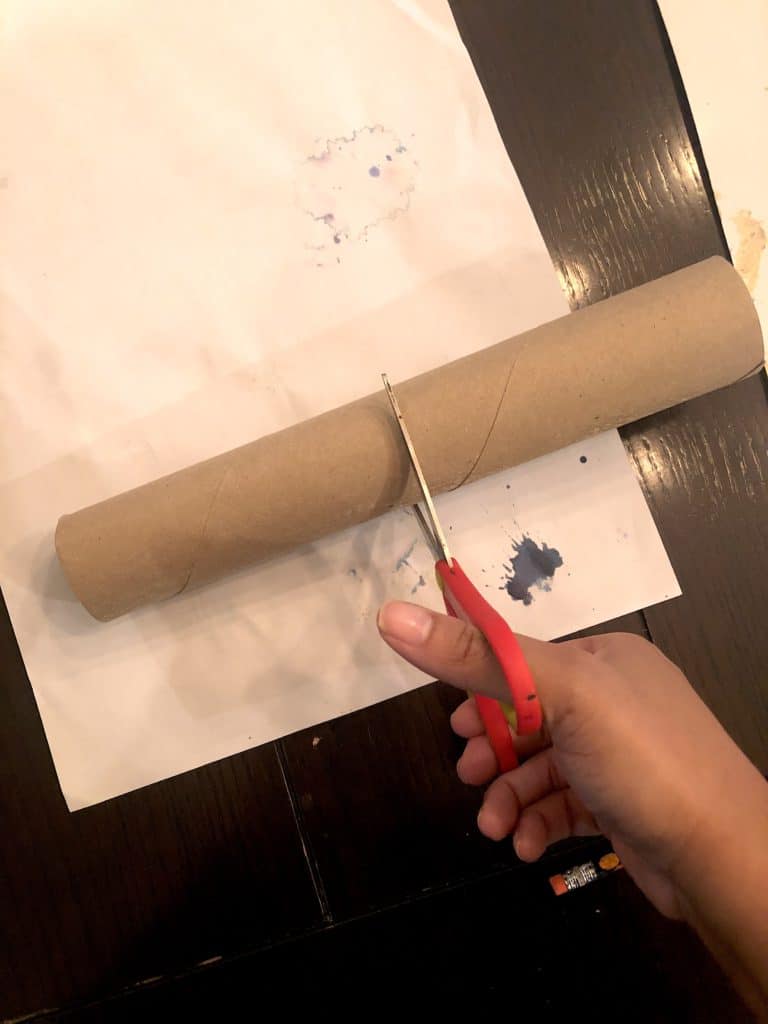
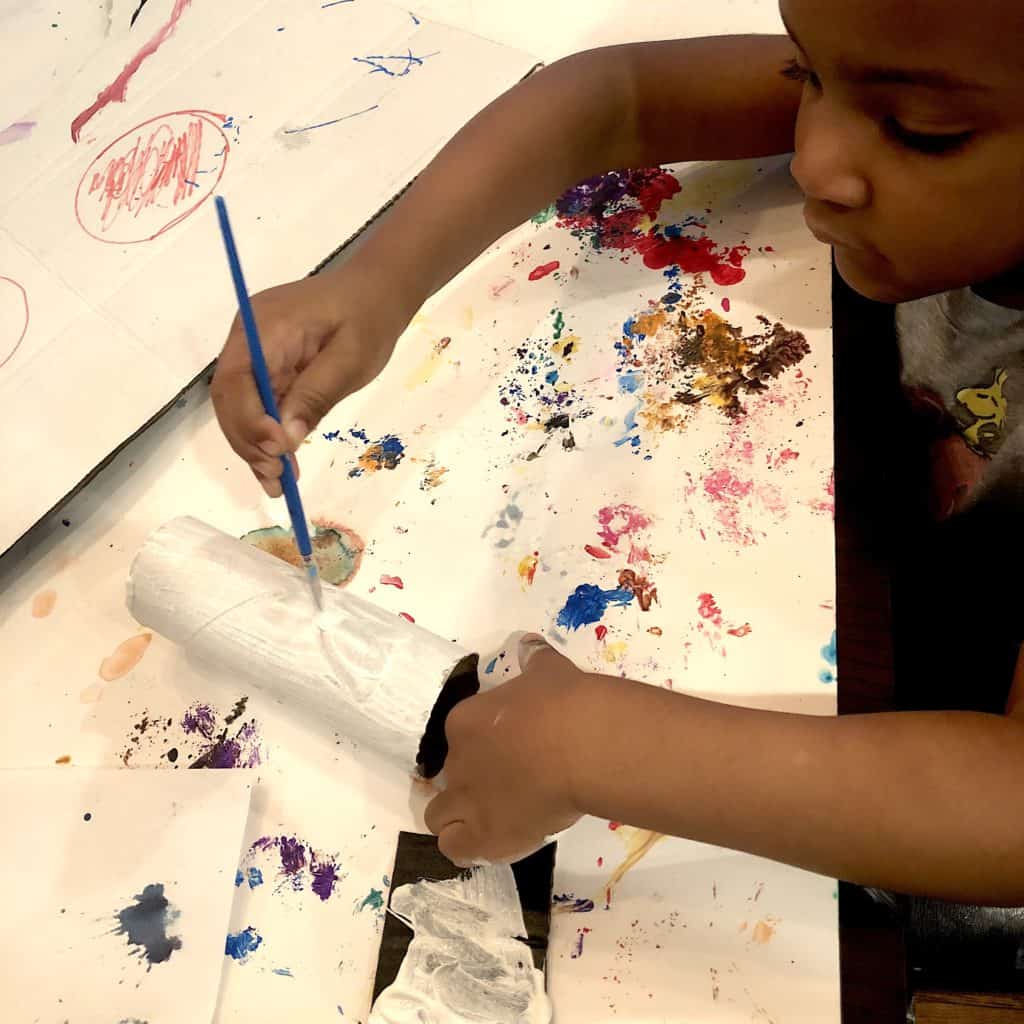
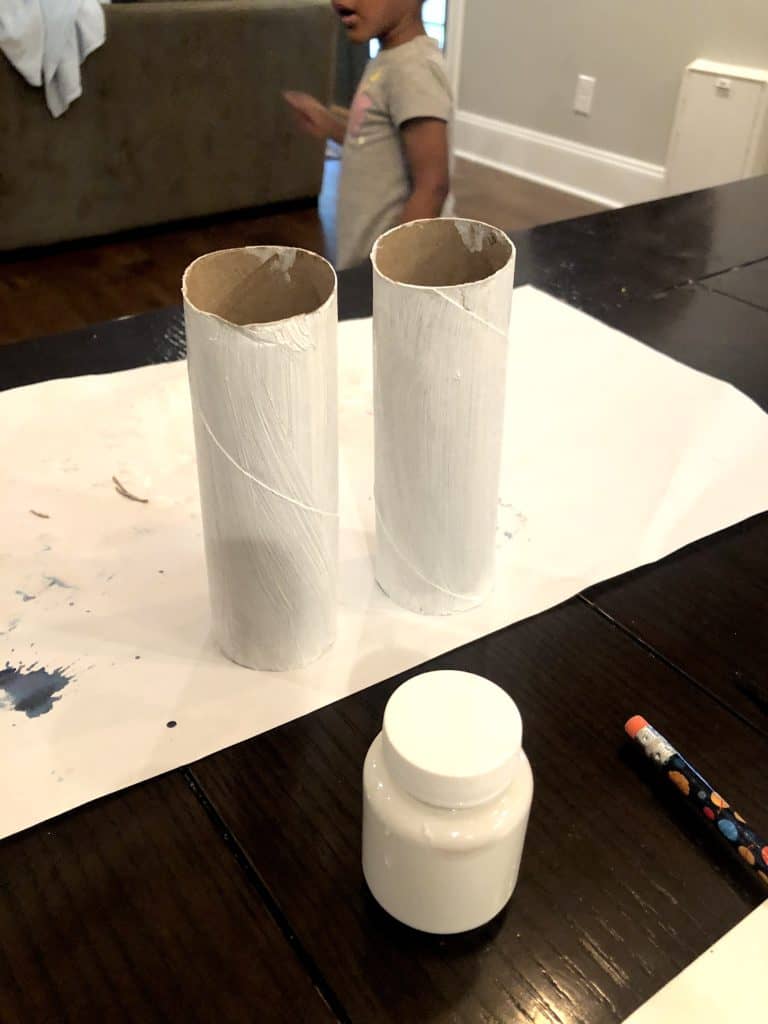
3. Next, you will start to draw the shape of the wings. I did this while the kids were painting the tubes. I did stop to help then paint when needed, but if you have not prepared the activity before hand, I would do it while the kids are painting.
After you draw the wings, cut them! depending on the age of your child)
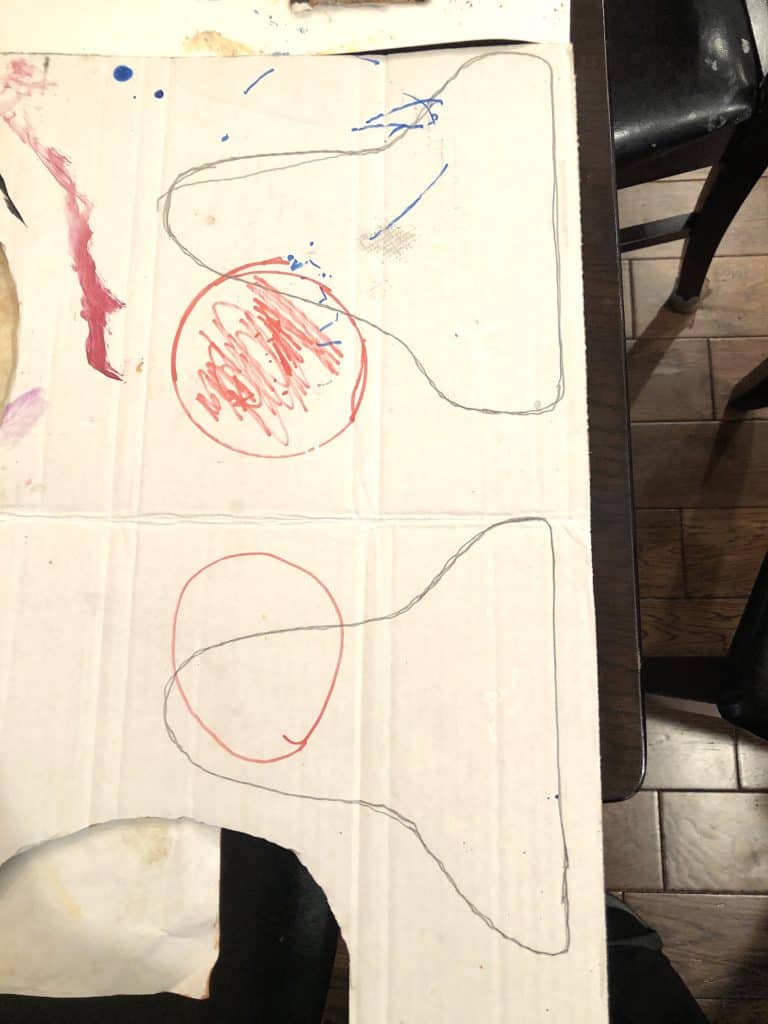
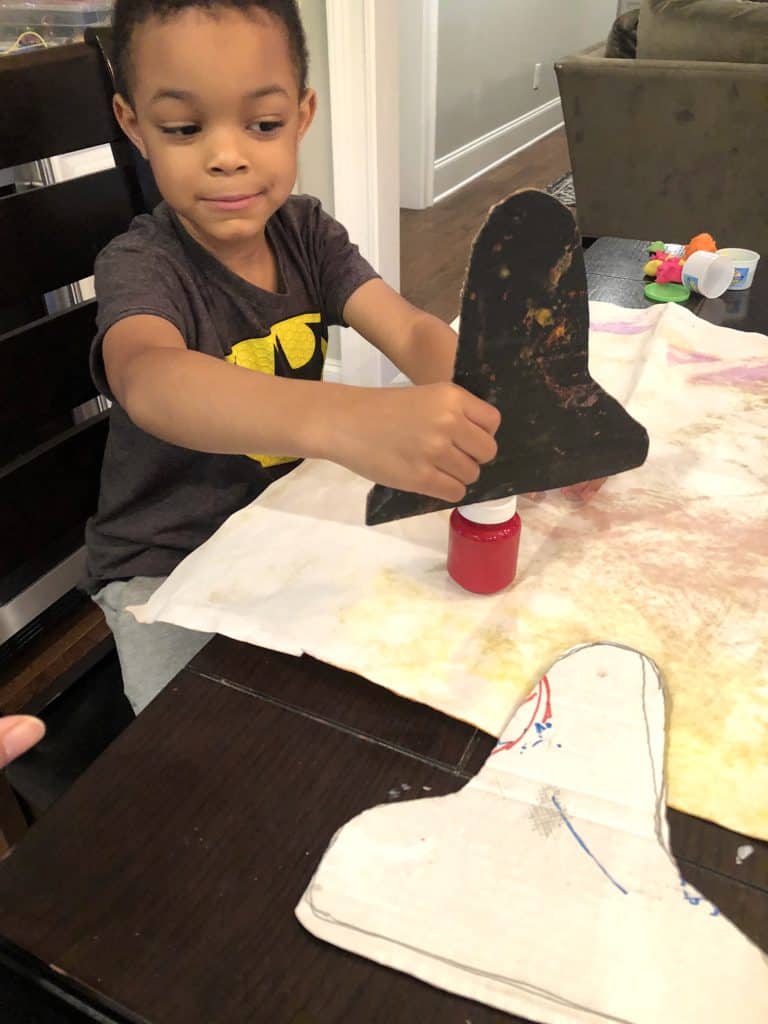
4. Next have the kids paint the wings! My kids both picked two colors and i helped them to paint a diagonal. Be creative here! Your rocket can look like a rocket or look like whatever the kiddies want!
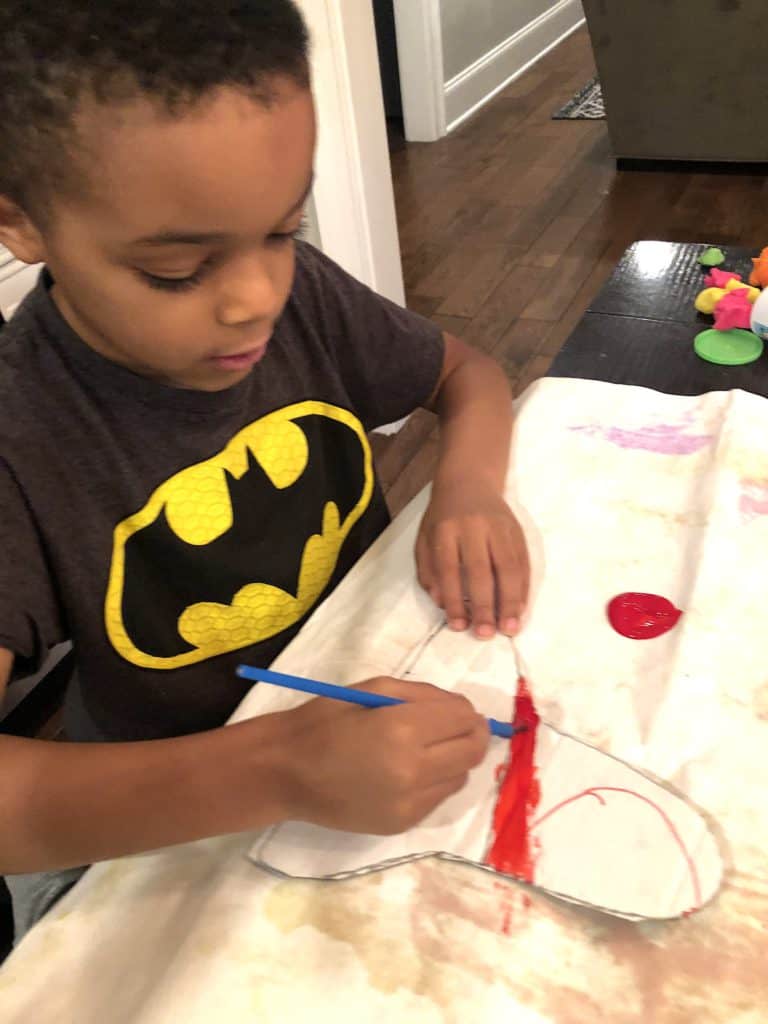
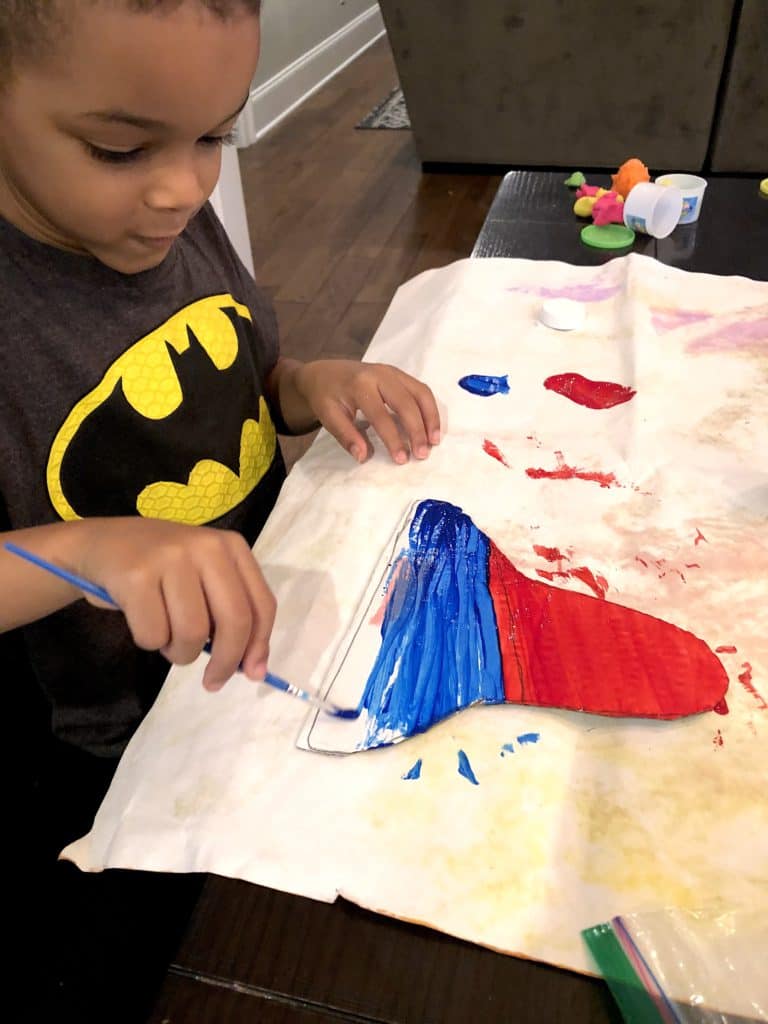
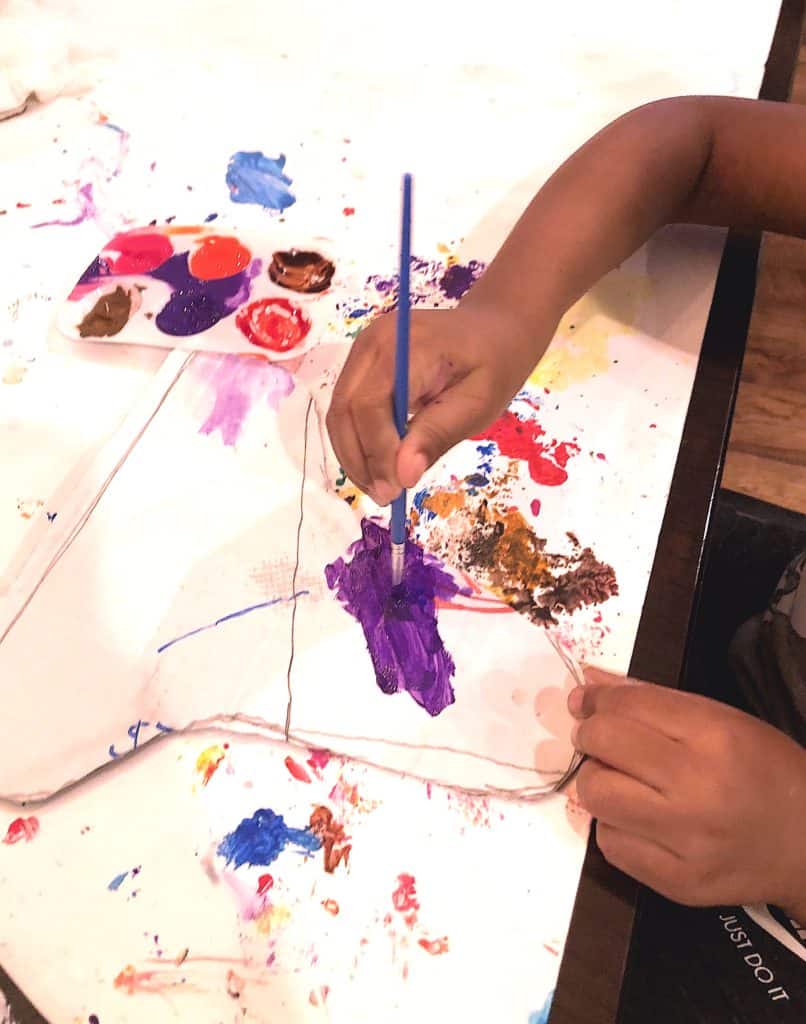
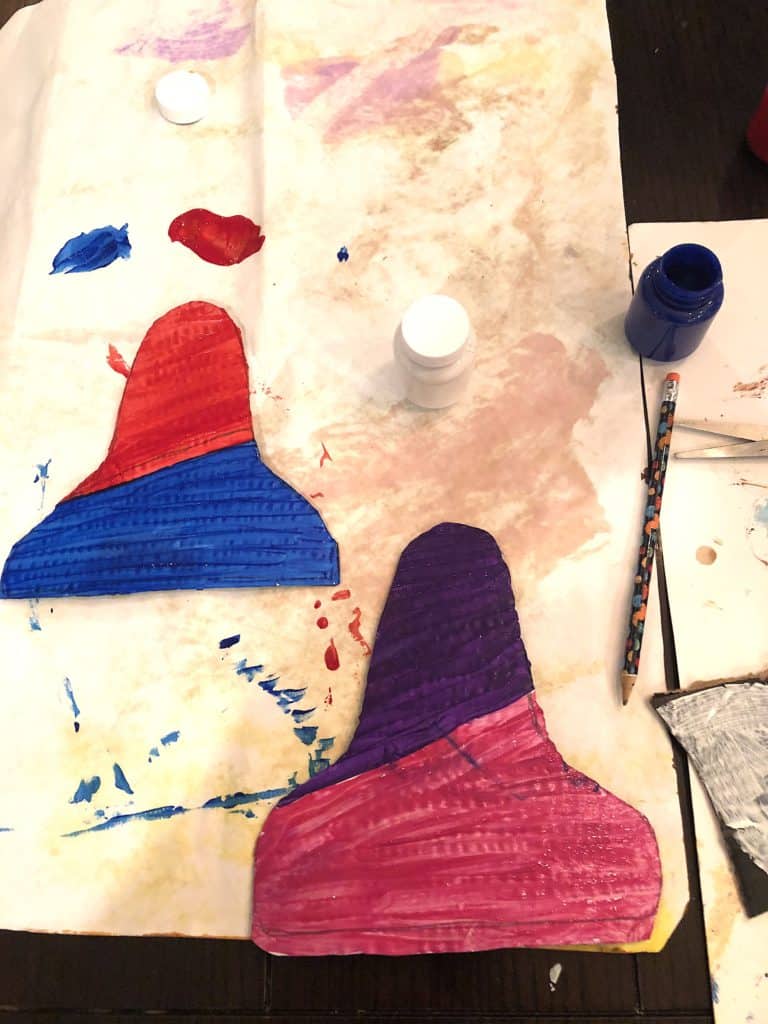
5. While the wings are drying, now is the time to cut the white tubes if you haven’t done so and add any additional design to them. After that is done, it is time for a snack break while everything is still drying!
6. Now that the paint is dry, its time for glue. I used regular Elmers glue to attached the tube to the wings. I like to let it sit a few minutes to get a little tacky, then I put them together. I also added a small piece of tape to each rocket to secure it while drying.
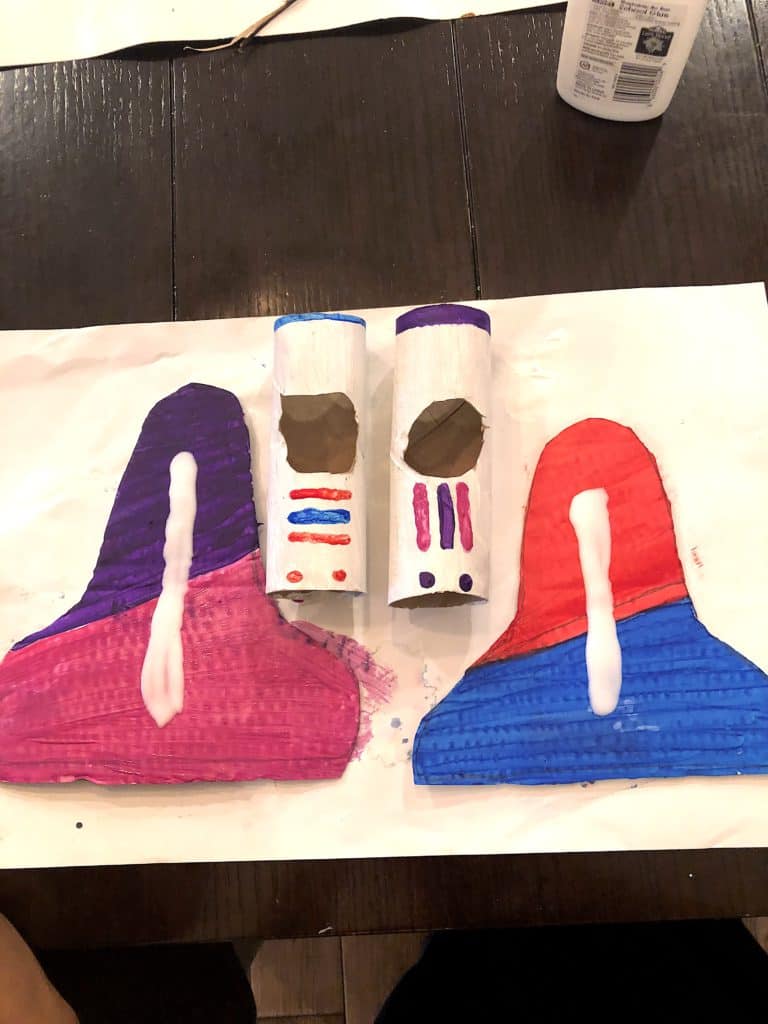
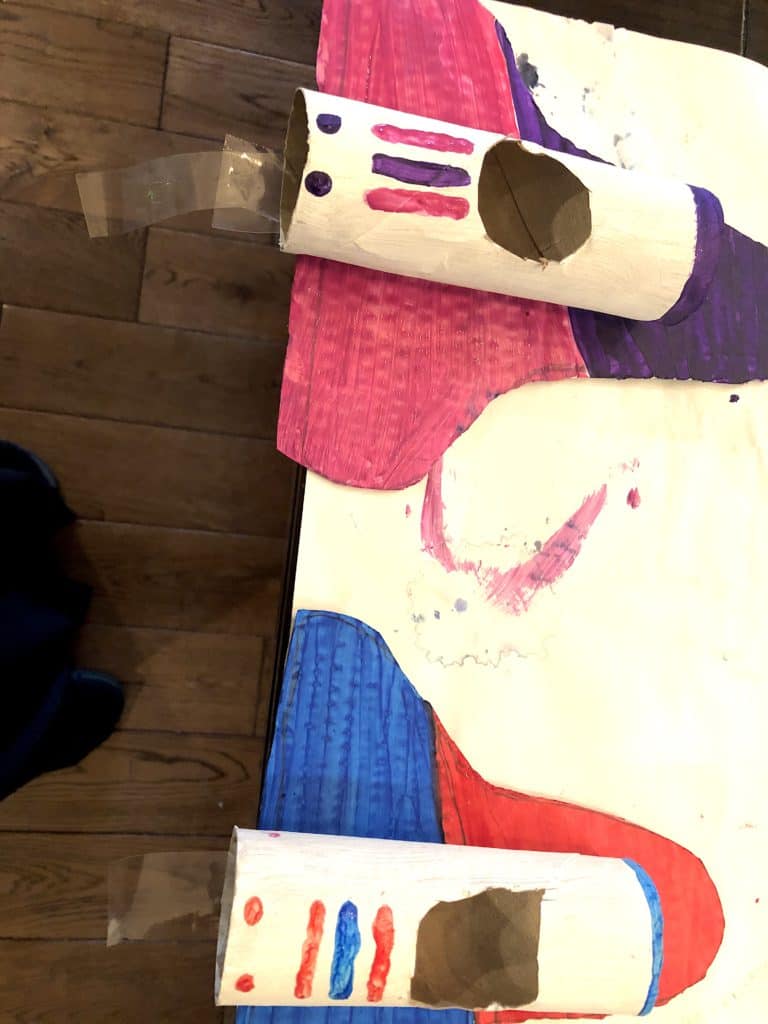
7. The last step is adding finishing touches to the wings and then allowing extra drying time! Once the kids get the toys in, that is it!
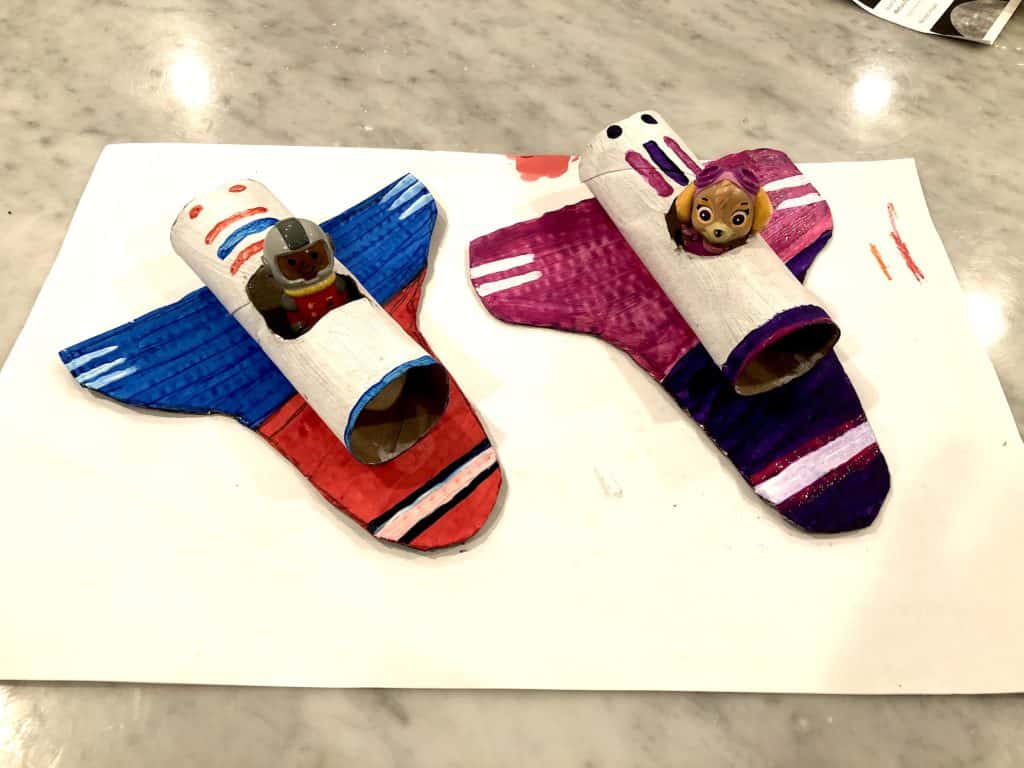
They had a great time!
A Few Reminders for This Kids Space Craft!
- Get all the supplies ready beforehand!
- Cut out the shapes ahead of time as well. The younger your kids are, the less patient they will be. (at least in my case haha)
- Help where necessary. I love crafts where the kids can just be creative on their own. But with the craft, my kids are still playing with it. So making the paint nice and need really went a long way. I even came back and did a few extra designs for them to enjoy.
- If your kids are young, plan for a snack during the drying period to take their mind off of the space project for a while. I kept having to tell mind, “Let it Dry!!” LOL
- Lastly, have fun! Let them pick the colors so it feels like their own and be creative!
After the craft was finished, my kids got some great pretend play in with the spaceships. Even though we actually have a big toy rocket at home, there is just something fun about making your own.
I hope you enjoyed this space craft for kids and got some great ideas from it. It’s not easy to always have crafts and new learning experience at your finger tips, and now that many of us are home with ours kids everyday with nowhere to go, I hope you get a chance to enjoy the times, instead of worry about what you should do next with the kids!
If you are looking for more children’s space activities, get some great ideas from I Heart Crafty Things as well! Annd don’t forget one of my favorite websites in the world, the Busy Toddler! This site is chalk full of activities and crafts
Want More Ideas? Check out this Awesome Video w/ Solar System Project Ideas
My kids were absolutely obsessed over this space rocket project! Do you have any other ideas that you think I would be great for fun learning? Please let me know in the comment section below! I would love to hear from you!
Also, remember to sign up for your FREE weekly activities planner on the top or the right side of the page and check out my printables page!
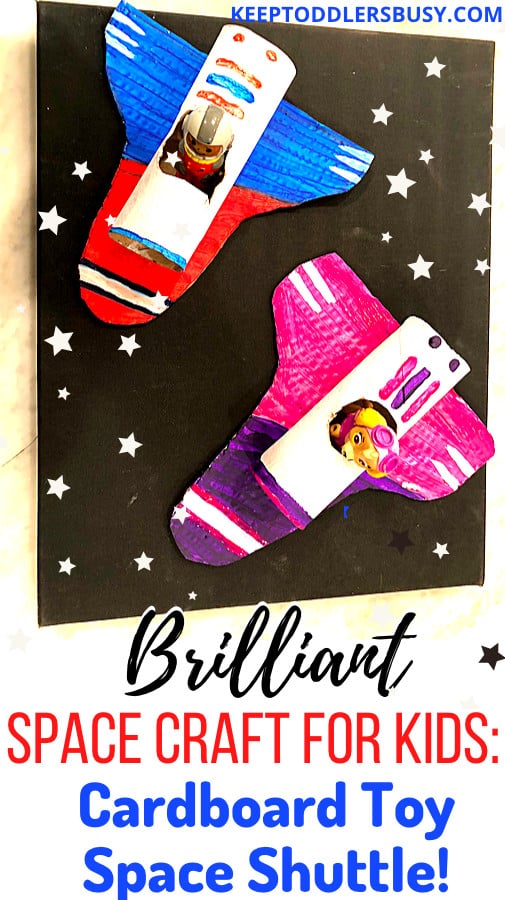

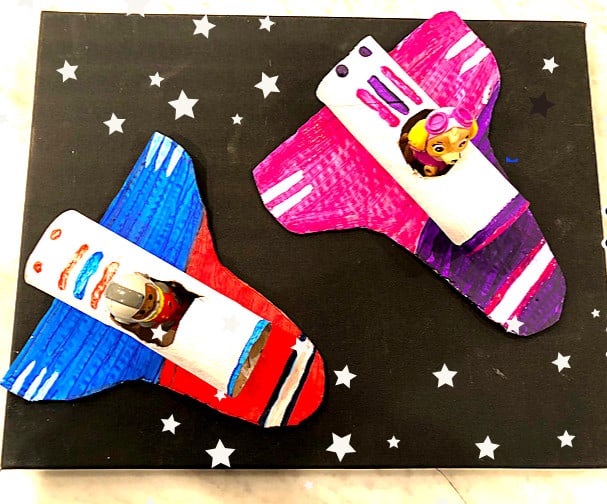
Thank you so much for sharing this I’m definitely going to try it with my little one. She is only 2 yo, so I guess she will need more help. I have been keeping all the toilet paper’s rolls because I knew that it could be something else. Just not so creative myself LOL! I am going to try it as a craft gift for my husband for his birthday. I will love to share my little one’s piece of art with you on your social media.
Stay safe! Great to have some ideas while preschool is closed.
Please do! I would LOOVE to see it! And yes I helped both my 3 and 5 year old smooth out the paint and decorate and they still loved it and play with it! Follow me on Pinterest for. more ideas and happy birthday to your hubby!